How to Remove Background in GIMP: Step by Step Guide for 2026
Learn how to remove background in GIMP with 3 methods: Fuzzy Select, Foreground Select, and Paths. Get a clean transparent PNG in minutes for free.
To remove background in GIMP, add an alpha channel, select the background with the Fuzzy Select tool, Foreground Select tool, or Paths tool, then press Delete. Export the result as a PNG so the transparent background survives. Plain backgrounds take about a minute, while busy photos need a little more patience.
Want to remove background in GIMP without paying a cent? Good news, you can. GIMP is a free and open source editor, and it handles cutouts better than most people expect.
Here's the plan. You'll add an alpha channel, choose the right selection tool, delete the background, and export a PNG. Do that, and you'll have a clean transparent background in minutes. Ready? Let's go.
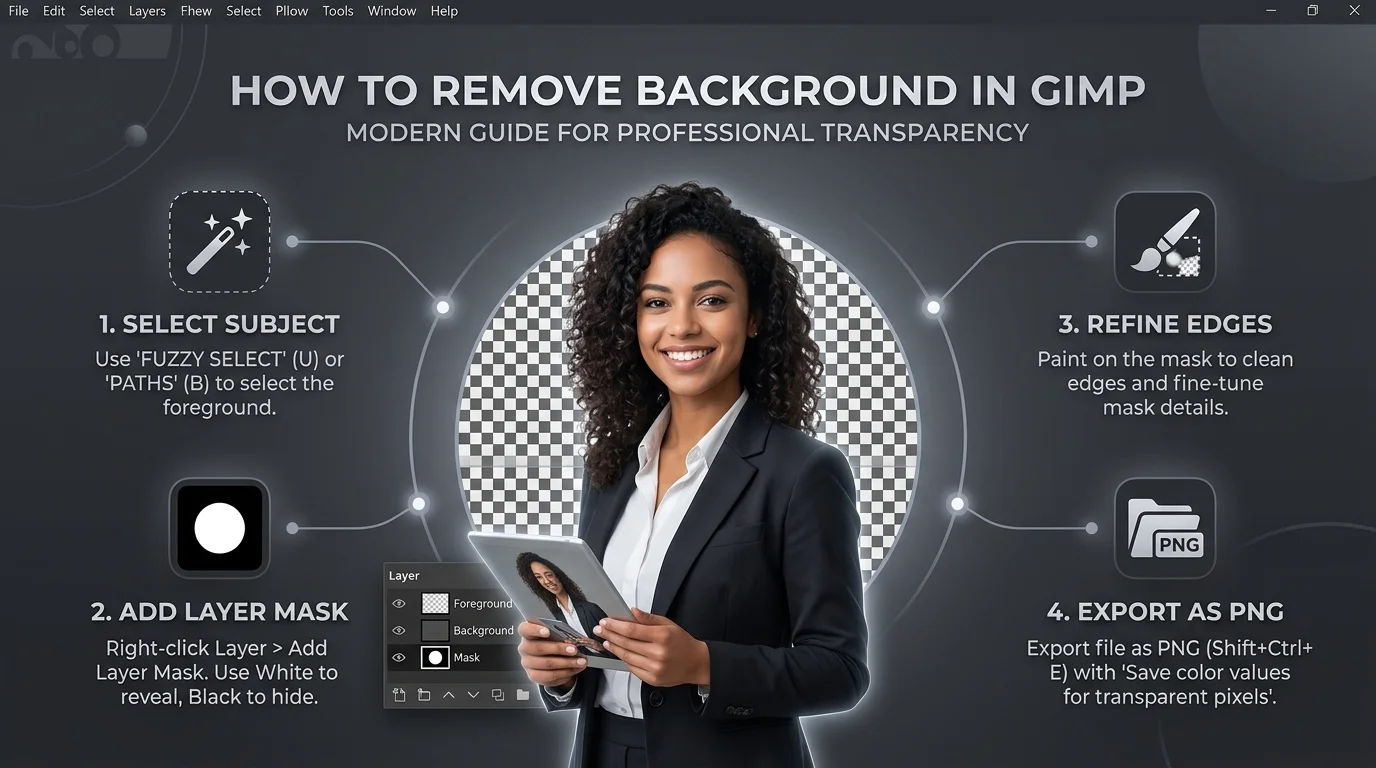
Step 1: Add an Alpha Channel First
Let me save you a headache. You delete the background, and GIMP fills it with white instead of making it see through. Annoying, right? The culprit is a missing alpha channel, the part of a layer that stores transparency. No alpha channel, no transparency. Fixing it takes five seconds, so please don't skip this step.
Open your photo with File → Open.
Right click the layer in the Layers panel.
Click Add Alpha Channel.
Not sure whether your layer already has one? According to the official GIMP documentation, layers without an alpha channel show their names in bold in the Layers dialog. The background layer is the usual offender.
Method 1: Fuzzy Select Tool for Plain Backgrounds
Got a product photo on a white wall? Then this one is your best friend. The Fuzzy Select tool, also called the magic wand, picks pixels by color similarity. It's fast, and it's beginner friendly. However, it struggles when your subject and background share similar colors, so keep that in mind.
Press U to activate the Fuzzy Select tool.
Click on the background.
Drag down or right to raise the threshold. The GIMP manual says the farther you drag, the larger the selected region becomes.
Hold Shift and click to add any missed areas.
Press Delete.
See that gray checkerboard pattern? That's your transparency. Boom.
One honest warning. The same manual notes that experienced users often switch to the Paths and Select by Color tools instead. Fair enough. Selling online? Our guide to AI product photos for ecommerce shows why clean cutouts matter for conversions.
Method 2: Foreground Select Tool for Complex Photos
Hair, fur, leaves, you name it. When the background gets busy, the magic wand simply won't cut it. That's where the Foreground Select tool shines. You roughly outline your subject, paint over what you want to keep, and GIMP works out the edges. It takes some patience. The results? Totally worth it.
Here's the process, based on the official GIMP 3.2 documentation:
Go to Tools → Selection Tools → Foreground Select. It has no default shortcut.
Draw a loose outline around your subject, leaving a little background, then close it.
Press Enter. The dark blue zone is the background.
Paint a continuous line through the foreground. Don't touch background pixels.
Press Enter to preview the mask.
Press Enter again to finalize the selection.
Choose Select → Invert, then press Delete.
Refine Your Edges Like a Pro
The first pass rarely looks perfect, and that's completely normal. So don't panic. Zoom in and clean up the edges before you commit, because small tweaks separate amateur cutouts from professional ones. You'll spot the difference the moment you drop your subject onto a new background.
Switch to Draw background and paint over leftover background.
Use Draw unknown to recover foreground the tool missed.
Toggle the Grayscale preview when colors look too similar.
Heads up: the docs warn that this tool uses a lot of memory and can slow down or crash on large images. Switching the engine to Matting Global speeds things up, though it's less accurate.
Method 3: Paths Tool and Layer Mask for Razor Sharp Edges
Need surgical precision? Say you're cutting out a car, a chair, or a logo with crisp edges. The Paths tool works like a digital pen, and a layer mask keeps everything nondestructive. Honestly, this is my favorite combo. It takes longer, but you can fix any mistake later without redoing the whole thing.
Press B to pick the Paths tool.
Click around your subject's outline, point by point.
Choose Select → From Path.
Add an alpha channel if you haven't yet.
Go to Layer → Mask → Add Layer Mask, then pick Selection.
Because you selected the subject, the mask keeps it visible and hides the rest. As the GIMP layer mask documentation explains, a mask lets you define which parts of a layer are opaque, semi transparent, or transparent. Even better, GIMP 3.2 added an Edit Mask Immediately option to the Add Layer Mask dialog. Want to go deeper? Pat David's layer masks tutorial is a great next read.
Which Method Should You Pick?
Still deciding? No worries. This quick comparison covers the options in this guide. Times are rough estimates and will vary with your image and experience.
Method | Best for | Approximate time | Skill level | Edge quality |
|---|---|---|---|---|
Fuzzy Select | Plain, solid backgrounds | About 1 minute | Beginner | Good |
Color to Alpha | Logos on one flat color | Under 1 minute | Beginner | Good, keeps anti aliasing |
Foreground Select | Hair, fur, busy photos | 3 to 10 minutes | Intermediate | Very good after refining |
Paths plus Layer Mask | Hard edged objects | 10 minutes or more | Intermediate | Excellent |
Prefer to skip the manual work? Our Cutout Pro AI photo editor and background remover guide covers a one click option. Or try the remove.bg plugin, which works inside GIMP but is a separate service.
Export Your Image as a PNG
Don't stop now! You've done the hard part, but one wrong click here can undo everything. Save as a JPEG, and your transparent background turns solid again. Seriously, it happens to everyone at least once. A thirty second export step protects all the work you just did, so let's lock it in the right way.
Click File → Export As.
Type a name that ends in .png.
Click Export, then confirm in the PNG dialog.
Save a copy as XCF too, so you can keep editing layers later.
As this transparency guide points out, JPEG flattens transparent areas into a solid background, which is why PNG is the right choice.
Why Your PNG Might Export With a Black Background
Weird, I know. Some users on GIMPChat reported that PNG exports lost transparency in GIMP 3.2.2 and came out with black backgrounds. That's a community report rather than an official fix, but it's worth knowing before you panic. One member's workaround is also easy to test.
Try unchecking Save Background Color in the PNG export dialog. Treat it as a workaround, not gospel.
Pro Tip: Use Color to Alpha for Flat Backgrounds
Working with a logo on a solid color? Skip the selections entirely. The Color to Alpha filter makes a chosen color transparent while trying to preserve anti aliasing, so edges stay smooth instead of jagged. It's a lazy shortcut, and I love it for exactly that reason. Add an alpha channel first, open Colors → Color to Alpha, pick your color, then adjust the thresholds.
Frequently Asked Questions
How do I remove a background in GIMP?
Add an alpha channel, select the background with a tool like Fuzzy Select, press Delete, and export as PNG. For complex photos, use Foreground Select, select your subject, invert the selection, then delete.
Why does GIMP turn my deleted background white?
Your layer has no alpha channel. Go to Layer → Transparency → Add Alpha Channel before deleting, and GIMP will leave the area transparent.
What is the best GIMP tool for removing a background?
It depends on the image. Fuzzy Select suits plain backgrounds, Foreground Select suits hair and busy scenes, and the Paths tool suits hard edged objects. GIMP's own separating an object tutorial walks through the selection options too.
Does GIMP 3.2 have an automatic background remover?
Not a one click one. GIMP 3.2 arrived in March 2026, and according to the release notes the experimental Paint Select tool is still in the development Playground section and needs development builds.
Why is my exported PNG black instead of transparent?
Check that the layer has an alpha channel and that you exported as PNG, not JPEG. If the problem persists in GIMP 3.2.2, test unchecking Save Background Color in the export dialog.
Your Next Move
Here's the bottom line. GIMP gives you professional grade background removal for free, and you now have three proven methods plus a handy filter. Pick the one that matches your image, follow the steps, and export that PNG. Easy.
Ready to start? Download GIMP 3.2 today, open a photo, and try the Fuzzy Select method first. You'll have your first clean cutout in about a minute. Want more free tools to build your toolkit? Browse our roundup of the best free photo editing software next. And if your cutout is headed for a profile picture, our guide to LinkedIn background tools for professional profile photos is a handy follow up.
About the Author

Rachel Hammond
Rachel Hammond is an AI tools writer and content automation specialist at Postunreel, where she covers everything from AI carousel generators to social media scheduling workflows. She has spent five years helping digital creators and marketing teams understand how to use AI tools practically — not just theoretically. Rachel personally tests every tool she writes about, documents real results, and breaks down complicated AI features into simple, step-by-step guides that anyone can follow regardless of their technical background. Her work focuses on saving creators time while helping them produce content that genuinely performs.
🔥 Limited Time Deal
NewGet lifetime access to Postunreel with a one-time payment. Never pay again!
Your Go-To Solution for Stunning Carousels using AI!
Postunreel is a free AI carousel generator tool that helps you design captivating carousel posts for LinkedIn, Instagram, and other platforms. It makes it easier to increase social media engagement and grow your audience.
Create Free Carousel Now 🚀Related Blogs
Free AI Video Maker: 5 Tools That Actually Work in 2026
Free AI video maker guide: real daily credits, watermark rules and clip limits for Google Flow, Kling, Pika and more. Pick the right tool fast.
The Modern Business Survival Guide: Preparing for the Problems You Can Not Predict
Learn how to build business resilience with practical strategies for managing unexpected problems, protecting communication, diversifying revenue, and preparing your team for disruptions.