How to Improve Focus in Photos: 11 Fixes
Blurry photos? Learn how to improve focus in photos with 11 proven fixes, from autofocus modes to focus stacking. Get sharper shots.

To improve focus in photos, choose the right autofocus mode (single for still subjects, continuous for moving ones) and use single point AF or eye detection on your subject. Then keep the camera steady with a fast enough shutter speed or a tripod, and shoot near your lens's sweet spot (usually f/5.6 to f/8). For front to back sharpness, use hyperfocal distance or focus stacking.
Key Takeaways:
Blur has several causes: missed focus, camera shake, motion, depth of field, and diffraction.
Use AF‑S/One Shot for still subjects and AF‑C/AI Servo for moving ones.
Back button focus lets you lock focus once and shoot freely.
Most lenses are sharpest 2 to 3 stops down from wide open.
Focus stacking gives edge to edge sharpness for macro and landscapes.
Blurry photos hurt.
You nail the composition, the light is perfect, and then you zoom in at home… and the eyes are soft.
I've been there more times than I'd like to admit.
The good news is that sharp focus isn't luck. It's a system. Once you learn it, you'll stop guessing and start getting tack sharp images consistently.
In this guide, I'll show you exactly how to improve focus in photos, step by step, including the newest 2026 autofocus features.
Let's dive in.
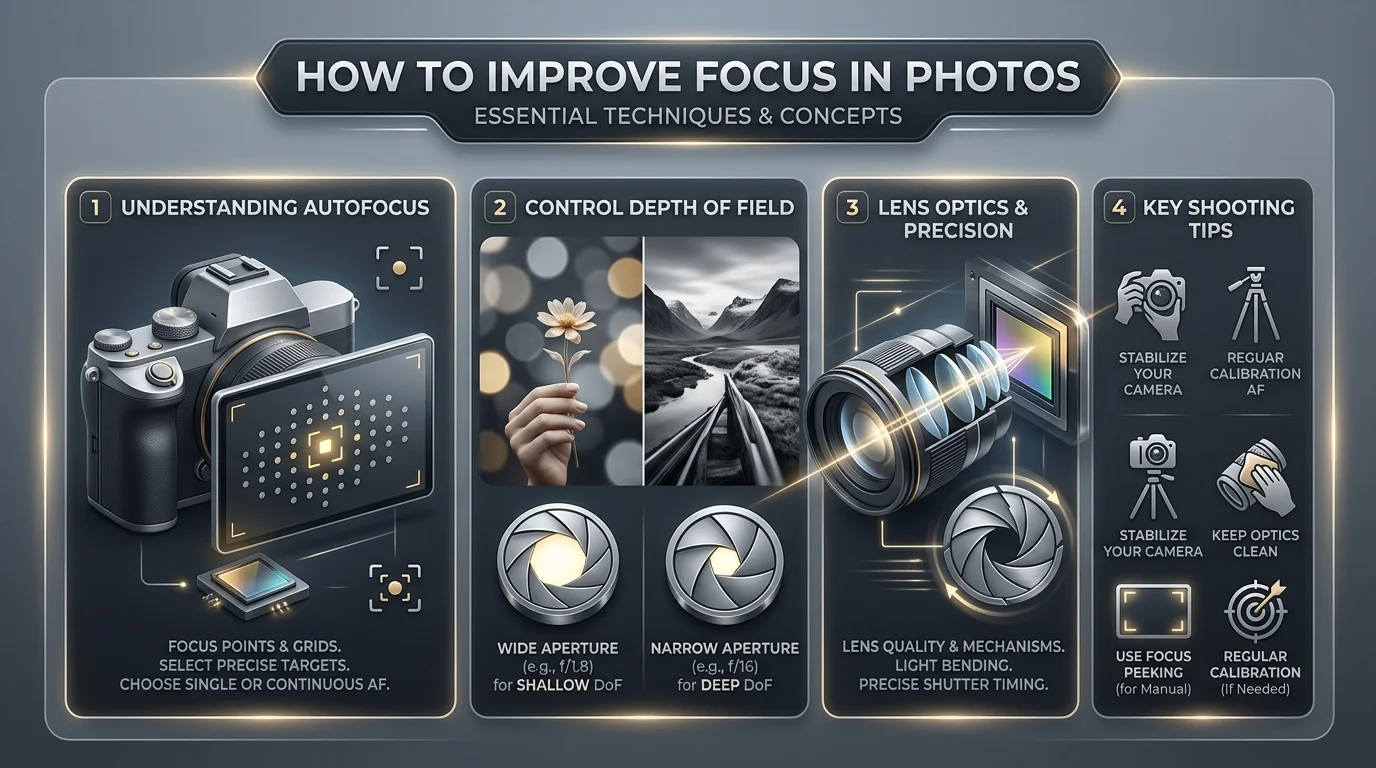
Why Your Photos Look Out of Focus
Before we fix anything, you need to diagnose the problem. Here's the thing: "soft" doesn't always mean "missed focus." Image sharpness is the result of several factors working together. Fix only one of them and you might still get a blurry picture. In fact, your focus point can land exactly right and the photo can still blur from motion, while a perfectly frozen action shot can still miss because the plane of focus was too thin. So use the table below to match your symptom to the right fix.
Symptom | Likely Cause | Quick Fix |
|---|---|---|
Whole frame blurry | Camera shake | Faster shutter, tripod, stabilization |
Subject blurry, background sharp | Missed autofocus | Single point AF, eye detection |
Only moving parts blurry | Motion blur | AF‑C mode, faster shutter speed |
Only a thin slice is sharp | Shallow depth of field | Stop down, step back, focus stack |
Everything slightly soft at f/22 | Diffraction | Shoot at f/5.6 to f/8 |
Always slightly in front of or behind the subject | Lens calibration | AF fine tune |
Step by Step: How to Improve Focus in Photos
This is the heart of the guide. I've ordered the steps from quick wins to advanced techniques, so you can start seeing results today. You don't need expensive gear for most of them. Steps 1 to 5 are settings changes you can make in minutes, and they solve the most common focus problems. Then Steps 6 to 11 handle tricky situations like landscapes, macro, and low light. So grab your camera, open the menu, and follow along. Each step builds on the one before it.
Step 1: Calibrate Your Viewfinder Diopter
This one sounds boring. Still, it matters. If your viewfinder isn't matched to your eyesight, you'll think shots are sharp when they're not. That means bad decisions in the field and frustration at home. Fortunately, the fix takes about ten seconds. Yet most beginners never touch the little dial beside the eyepiece. Here's how to set it once and forget it.
Autofocus on something detailed.
Look through the viewfinder.
Turn the diopter dial until the view looks crisp.
Corel's sharp focus tutorial names this as the very first step.
Step 2: Choose the Right Autofocus Mode
Next up: your autofocus modes. Pick the wrong one, and you'll either lose a moving subject or waste effort on a still one. The rule is simple: still subject means single AF, and moving subject means continuous AF. Most cameras also offer an automatic hybrid mode. Below, I compare all three so you can choose confidently.
Mode (Nikon / Canon) | Best For | How It Behaves |
|---|---|---|
AF‑S / One Shot | Portraits, landscapes, products | Locks focus once |
AF‑C / AI Servo | Sports, kids, pets, wildlife | Tracks a moving subject continuously |
AF‑A / AI Focus | Mixed, general shooting | Switches automatically |
In continuous mode, Nikon cameras use predictive focus tracking when a subject moves toward or away from you. Details are in the Nikon D850 autofocus manual.
Step 3: Use Single Point AF and Focus on the Eyes
When you let the camera pick the focus point, it guesses. And often, it guesses wrong: a nose, a shoulder, or a bright background. So take back control. Switch to single point autofocus and put that point exactly where the sharpness should land. For portraits especially, this one habit makes a dramatic difference. Here are two rules I always follow.
Focus on the nearest eye of people and animals, as recommended by Photography Life.
Aim at high contrast edges. A blank wall or empty sky gives autofocus nothing to grab, so pick an edge, a frame, or a cloud instead.
Step 4: Turn On Eye and Subject Detection (2026 Cameras)
If you shoot mirrorless, this is the biggest focus upgrade of the last few years. Modern cameras can recognize eyes, faces, animals, and vehicles, then track them automatically. As a result, you spend less time moving focus points and more time on timing and composition. It isn't perfect in clutter or low light, though. So pair it with good technique rather than relying on it blindly.
For example, Nikon's Z 9 expanded subject detection beyond people to include animals and vehicles.
Turn on eye detection AF, select the subject type (human, animal, vehicle), and let subject tracking follow the action.
Step 5: Set Up Back Button Focus
This trick is a favorite among working photographers. Back button focus separates focusing from firing the shutter. Your thumb handles focus while your index finger just takes the picture. Consequently, you can lock focus once and shoot as many frames as you like. It also makes switching between still and moving subjects much faster, which is gold for events and wildlife.
Canon USA explains that you move autofocus off the shutter button and onto the AF‑ON or AE Lock button.
Open Custom Controls.
Remove AF from the shutter half press.
Assign "AF start" to the AF‑ON button.
For screenshots, see Canon Australia's guide.
Step 6: Shoot at Your Lens's Sweet Spot
Now let's talk aperture. Many photographers assume their lens is sharpest wide open. It isn't. Wide apertures show more optical flaws, while tiny apertures cause diffraction. Somewhere in between, your lens hits its peak, known as the lens sweet spot. Finding it is one of the cheapest ways to boost detail, and it applies to every lens you own.
Sensor Format | Typical Sweet Spot |
|---|---|
Full frame | f/5.6 to f/8 |
APS‑C | f/4 to f/5.6 |
These ranges come from Photography Icon's diffraction guide. B&H likewise notes the sharpest aperture is usually 2 to 3 stops down from wide open.
Step 7: Master Depth of Field and Hyperfocal Distance
Sometimes focus is fine, but the depth of field is too thin. Half your subject is sharp, and the other half melts away. On the other hand, landscape shooters usually want everything sharp from front to back. That's where hyperfocal distance helps. It sounds technical. However, the idea is simple once you see it in action.
Cambridge in Colour defines it as the focus distance that places the far edge of your depth of field at infinity.
Practical method: focus on the farthest object, then pull focus closer until the background just begins to soften. You can also use their depth of field calculator.
Step 8: Eliminate Camera Shake
Even perfect focus can't save a shaky shot. Camera shake blurs the entire frame, not just the subject. It sneaks in indoors, at dusk, and at long focal lengths. Luckily, the fixes are straightforward: use a faster shutter, a steadier camera, or ideally both. Here's my checklist.
Follow the reciprocal rule: shutter speed of at least 1/focal length.
Use a sturdy tripod, and avoid extending the legs and center column more than needed, as Photography Mad advises.
Enable image stabilization when shooting handheld.
Use a shutter delay or remote release.
Step 9: Use Manual Focus Aids in Tricky Light
Autofocus struggles in low light, low contrast, and macro work. When it hunts back and forth, don't fight it. Instead, switch to manual focus and let your camera's built in helpers do the heavy lifting. Most modern cameras include focus peaking and focus magnification, which make precise manual focus surprisingly easy. Here's how to use them together.
Switch the lens or body to MF.
Turn on focus peaking, which highlights sharp edges in color.
Magnify the view 5x to 10x on your subject.
Turn the focus ring slowly until the edges pop.
Step 10: Try Focus Stacking for Macro, Product, and Landscapes
Want edge to edge sharpness that one frame can't deliver? Then you need focus stacking. It's the technique behind those incredibly detailed macro and product shots. You shoot several frames at different focus distances, then blend them into one. It takes extra time. However, the results are worth every minute, especially if you sell online and need crisp AI product photos for ecommerce that start from a sharp original.
According to Photoshop Essentials, Photoshop blends the in focus areas of each frame into one image that's sharp throughout.
File > Scripts > Load Files into Stack
Edit > Auto Align Layers
Edit > Auto Blend Layers > Stack Images
Step 11: Shoot RAW and Sharpen Carefully
Finally, let's polish. Post processing can't rescue a badly missed shot, but it can make a good one great. The key is restraint. Over sharpening creates halos and crunchy noise that instantly look amateur. So capture in RAW, sharpen gently, and target only the areas that matter most, like the eyes or the main subject's texture.
Bergreen Photography recommends shooting RAW and applying modest, targeted sharpening in Lightroom's Detail panel.
Pro tip: always sharpen after you resize an image, because downsizing softens fine detail. And if you're converting to monochrome, a crisp original makes any black and white filter look far more dramatic.
How to Improve Focus on a Smartphone
Not shooting with a camera? No problem. Smartphones use the same principles, just with simpler controls. Most blurry phone photos come from the phone focusing on the wrong spot or from shaky hands in dim light. Thankfully, both are easy to fix. Try these habits on your next shot, then finish the edit in the best free photo editing app for iPhone for clean, subtle sharpening.
Tap to focus on your subject before shooting.
Long press to lock focus and exposure (AE/AF lock).
Brace your elbows or use a small phone tripod in low light.
Wipe the lens. Pocket lint is a silent sharpness killer.
Gear That Makes Sharp Focus Easier
Technique always comes first. That said, the right tools remove friction and pay for themselves quickly. If you've followed every step and still fight softness, one of these upgrades will likely close the gap. I've listed them in the order I'd buy them, starting with the cheapest and most impactful.
A solid tripod and remote release: the fastest route to sharper shots.
A lens cleaning kit: The Click Community points out that a clean lens gives sharper results.
A sharp prime lens, such as a 50mm f/1.8: affordable and crisp.
AF fine tune or lens calibration: for lenses that consistently front focus or back focus.
Honestly? A good tripod is the best purchase you can make right now. Get one today, and you'll see the difference on your very next shoot.
Frequently Asked Questions
Still have questions? You're not alone. Below, I've answered the questions photographers ask most often about sharp focus. Each answer is short and direct, so you can find what you need fast. If your question isn't here, drop it in the comments and I'll add it to this guide in the next update.
Why are my photos blurry even when the camera says they're in focus?
It's usually camera shake or motion blur, not focus. Raise your shutter speed, use a tripod, or switch to AF‑C for moving subjects.
What is the sharpest aperture for most lenses?
Usually 2 to 3 stops down from wide open: about f/5.6 to f/8 on full frame and f/4 to f/5.6 on APS‑C.
Should I use AF‑S or AF‑C?
Use AF‑S (One Shot) for still subjects and AF‑C (AI Servo) for anything that moves.
Is back button focus worth it?
Yes. It lets you lock focus once and fire freely, and it makes switching between still and moving subjects faster.
How do I get everything in focus in a landscape?
Stop down to f/8 or f/11 and focus at the hyperfocal distance. For maximum sharpness, use focus stacking.
Final Thoughts
There you have it: eleven proven steps to improve focus in photos, from a ten second diopter tweak to eye detection and focus stacking. Remember, sharpness is never one setting. Instead, it's a stack of small, smart choices that add up. So start with Steps 1 to 5 this week. Then layer in the rest as your skills grow. And if your photos end up on social media, these image optimization tips for carousel design will help them look just as sharp in the feed.
Now I want to hear from you.
Which step are you trying first? Back button focus? Or finding your lens's sweet spot?
Let me know in the comments below right now.
About the Author

Laura Whitmore
Laura Whitmore is an Instagram content strategist and visual design writer at Postunreel, specializing in carousel post design, visual storytelling, and audience engagement tactics for Instagram and other image-first platforms. She brings four years of experience working with lifestyle brands, e-commerce businesses, and independent creators who want their social media content to look polished and perform consistently. Laura combines her passion for great design with a data-driven approach to content, regularly testing new carousel formats and visual styles to discover what drives the highest engagement rates for Postunreel users.
🔥 Limited Time Deal
NewGet lifetime access to Postunreel with a one-time payment. Never pay again!
Your Go-To Solution for Stunning Carousels using AI!
Postunreel is a free AI carousel generator tool that helps you design captivating carousel posts for LinkedIn, Instagram, and other platforms. It makes it easier to increase social media engagement and grow your audience.
Create Free Carousel Now 🚀Related Blogs
Generate Custom Infographic Illustrations for Complex Ideas
Learn how to create AI infographic illustrations with Dreamina. Turn complex ideas into clear, engaging visuals for presentations, reports, and blogs.
Black and White Filter: Color to Use & Why (2026)
Flat B&W photos? A black and white filter fixes that. See which color to buy first, how to use it, and how to get the look in Lightroom.